Build Your Own Private Cloud Drive at Home
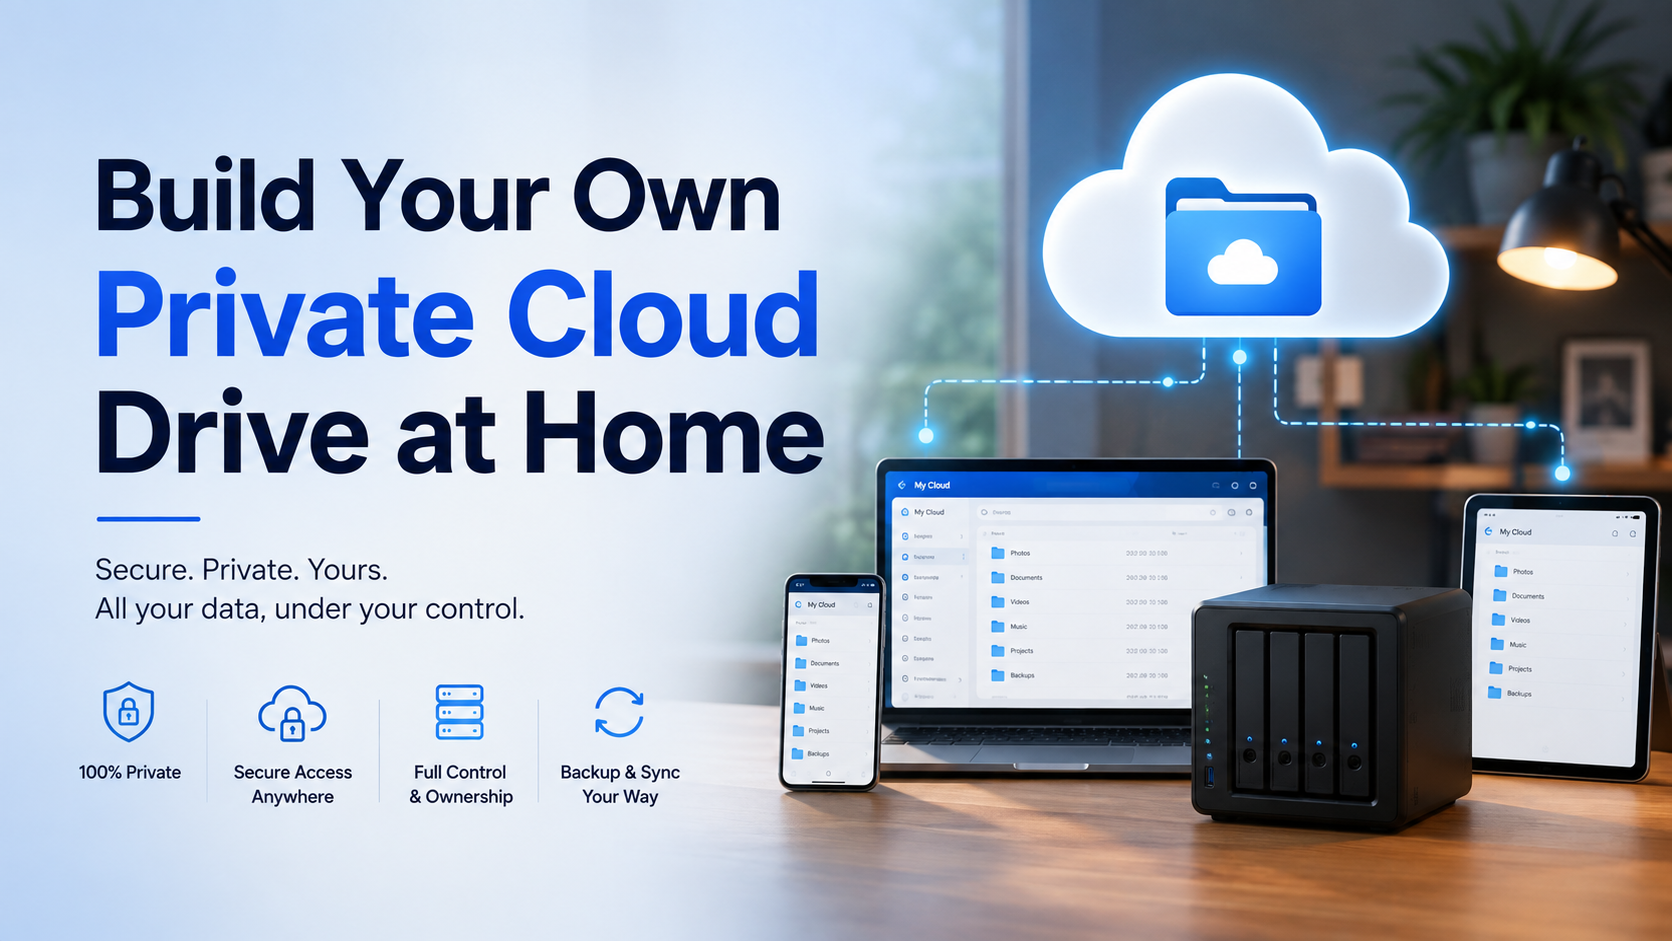
how to set up a private cloud drive at home is a process of creating personal cloud storage using your own hardware and self-hosted software. Key platforms include Nextcloud for an all-in-one suite, TrueNAS for robust NAS management, Synology DSM for user-friendly NAS OS, OpenMediaVault for lightweight flexibility, and
Why a Private Home Cloud Beats Public Storage
In an era where our digital lives are scattered across countless services, the promise of the cloud is undeniable: access your files from anywhere, on any device. Giants like Google Drive, Dropbox, and iCloud have made this incredibly convenient. But this convenience comes with a hidden ledger—one that tallies up in monthly fees, privacy trade-offs, and a surprising lack of ultimate control. Building a private cloud drive at home flips this model on its head, transforming your personal hardware into a sovereign data vault that offers distinct, powerful advantages.
Uncompromising Data Privacy and Ownership
When you upload a file to a public cloud service, you surrender its physical location. That family photo album or financial document now resides on a server in an unknown data center, governed by a corporation's privacy policy—which can change. These companies employ automated systems to scan content for various purposes, from targeted advertising to terms-of-service enforcement. With a private home cloud, your data never leaves your network unless you explicitly send it. You are the administrator, the security team, and the sole decision-maker. This is critical not just for personal peace of mind, but for professionals handling sensitive client data, creative work, or research where confidentiality is paramount.
True Cost Efficiency Over Time
Public cloud storage operates on a recurring subscription model. While a few free gigabytes seem attractive, real storage needs quickly escalate. Upgrading to 2TB on a major platform typically costs between $100 and $140 per year, forever. A private cloud involves a one-time capital investment. For example, a capable mini-PC or NAS (Network-Attached Storage) device with 8TB of storage can be acquired for under $500. Even factoring in a modest $5/month for electricity, the break-even point is reached in under three years. After that, your annual storage cost is essentially zero, while public service fees continue indefinitely.
| Consideration | Public Cloud (e.g., 2TB Plan) | Private Home Cloud (8TB Example) |
|---|---|---|
| Upfront Cost | ~$0 (for initial tier) | ~$300 - $600 (for hardware) |
| Recurring Cost | $100 - $140 / year | ~$60 / year (electricity) |
| Cost after 5 Years | $500 - $700 | ~$800 (including hardware) |
| Cost after 10 Years | $1000 - $1400 | ~$1100 |
| Who Controls Your Data? | The Service Provider | You |
Unlimited Customization and Performance
Public clouds are one-size-fits-most. You get the features they decide to offer. A private cloud, powered by software like Nextcloud or ownCloud, transforms into a tailored digital workspace. Need integrated calendar, contact sync, collaborative document editing, or even a media server? These are installable apps. Performance is also directly in your hands. Upload and download speeds are constrained only by your home internet connection and local network. Internally, on your home Wi-Fi or Ethernet, file transfers can scream along at gigabit speeds (over 100 MB/s), making backing up a 50GB video project a matter of minutes, not hours waiting for an online service to sync.
Resilience and Independence
Relying on a single public service creates a single point of failure. An account lockout, a sudden policy change, or even a service shutdown can lock you out of your own digital life. A home cloud is a pillar of self-reliance. It operates independently of corporate decisions. You set the backup rules—whether to mirror data to an external drive or encrypt a copy to a different cloud provider. This hybrid approach gives you the ultimate resilience: local speed and control, with the option for secure, encrypted off-site backup on your own terms. You're not just renting a digital closet; you're architecting your own data infrastructure.
Building a private cloud isn't about rejecting modern technology, but about reclaiming its fundamental promise: empowerment. It shifts the cloud from a service you buy into an asset you own.
The journey requires some initial setup, but the result is a permanent, upgradeable, and deeply personal solution. It turns your data from a product on someone else's server back into your private property, accessible from anywhere in the world, on your own terms.
Essential Hardware & Software Requirements
Building your private cloud is less about buying the most expensive gear and more about assembling a balanced, reliable system. Think of it as a silent, digital butler working in a corner of your home. The goal is to create a foundation that is powerful enough for your needs, efficient enough to run 24/7, and robust enough to safeguard your data. Let's break down the core components you'll need to gather before the first line of software is installed.
The Heart of Your Cloud: Hardware Components
Your private cloud drive needs a physical home. While you can repurpose an old laptop or desktop, for a dedicated, always-on solution, a purpose-built setup is recommended. The core hardware consists of four key elements.
- The Machine (NAS or Server): A Network-Attached Storage (NAS) device is the most user-friendly option. Brands like Synology or QNAP offer turnkey solutions with built-in software. For more control and power, a custom-built server using a mini-ITX or micro-ATX motherboard is ideal. A modern Intel Celeron or AMD Ryzen 3 processor is more than sufficient for file serving for a family.
- Storage (Your Digital Vault): This is your most critical investment. Use NAS-rated or enterprise-grade hard drives (like WD Red Plus or Seagate IronWolf) for their reliability in 24/7 operation. For speed, consider a small Solid-State Drive (SSD), around 256GB, for the operating system and applications. For storage, start with at least two drives in a RAID 1 (mirror) configuration. This means two 4TB drives give you 4TB of usable space, with one drive acting a real-time backup of the other.
- Memory (RAM): Don't skimp here. 8GB of RAM is a solid starting point for a basic file server. If you plan to run additional services like media streaming or virtual machines, aim for 16GB. This ensures smooth operation when multiple users are accessing files simultaneously.
- Network Connection: Your home network is the highway to your cloud. A wired Gigabit Ethernet (1,000 Mbps) connection to your router is non-negotiable for fast file transfers. For wireless access, ensure your router supports modern Wi-Fi 6 standards. If your internet upload speed is slow (e.g., 10 Mbps), remote access outside your home will feel sluggish; consider this if you frequently need large files on the go.
The Brain of Your Cloud: Software Stack
Hardware is inert without software to animate it. The software stack is layered, each part handling a specific function to deliver that seamless cloud experience.
The right software transforms a silent box of circuits into your personal command center for data.
First, you need an Operating System (OS). For NAS devices, the OS is proprietary and included. For a custom server, a lightweight, stable Linux distribution is the gold standard. Ubuntu Server LTS or Debian are excellent, well-supported choices that require minimal overhead. Next is the self-hosted platform software itself—this is the application that provides the web interface, sync clients, and user management, like Nextcloud or ownCloud. Finally, you’ll rely on underlying services like a web server (Apache or Nginx), a database (MySQL/MariaDB or PostgreSQL), and PHP, which these platforms use to function.
Balancing Your Build: A Quick-Reference Table
| Component | Basic Home Setup (2-3 users) | Advanced / Family Setup (4+ users, media) |
|---|---|---|
| CPU | Intel Celeron J4125 / AMD Ryzen 3 3200G | Intel Core i3 / AMD Ryzen 5 |
| RAM | 8 GB DDR4 | 16 GB DDR4 |
| Storage (HDD) | 2 x 4 TB (RAID 1) | 4 x 6 TB (RAID 5 or 10) |
| System Drive | 120 GB SSD | 256 GB NVMe SSD |
| Power Supply | 80 Plus Bronze, 300W | 80 Plus Gold, 450W (for efficiency & stability) |
| Network | Gigabit Ethernet | Gigabit Ethernet + Wi-Fi 6 Router |
With these hardware components assembled and your software choices ready, you have a complete blueprint. Your private cloud is no longer a conceptual idea but a list of tangible parts. The next step is choosing the intelligence that will bring it all together: the self-hosted platform software that defines your cloud's capabilities and interface.
Choosing the Right Self-Hosted Platform
This is the critical fork in the road. The software platform you select will define your cloud's capabilities, its feel, and how much of your time it will consume to maintain. Think of it as choosing the operating system for your private data universe. The landscape is rich with powerful, open-source options, each with its own philosophy. Your choice hinges on balancing technical comfort with desired features.
The Core Contenders: A Feature Breakdown
While dozens of projects exist, three platforms consistently lead the pack for home users seeking a robust, all-in-one file synchronization and sharing solution. Here’s a focused comparison to guide your decision.
| Platform | Best For | Key Strength | Technical Consideration |
|---|---|---|---|
| Nextcloud | The all-in-one ecosystem | Vast app store (over 200 apps) for calendars, contacts, video calls, and more. | Moderate resource needs; a Raspberry Pi 4 (4GB) is the minimum for a good experience. |
| Seafile | Pure, high-performance file sync | Blazing sync speed and proven reliability with large files & libraries (100GB+). | Simpler core, but advanced features (like full-text search) may require separate Pro packages. |
| ownCloud | Enterprise heritage & stability | Strong, granular security controls and a very stable, predictable release cycle. | The community edition is solid, but some compelling features are in the enterprise edition. |
Nextcloud: The Swiss Army Knife
If you envision your private cloud as a complete replacement for Google Workspace or Microsoft 365, Nextcloud is your prime candidate. Its core file sync is excellent, but its superpower is extensibility. With a few clicks from its built-in app store, you can install integrated applications for collaborative document editing (OnlyOffice or Collabora), photo galleries with AI face recognition, bookmark management, and even project boards. It’s a one-stop portal. For a household, this means you can share a family calendar, manage shared contacts, and have a private video call space—all from the same server you use for files. Be mindful that this power comes with overhead; a smooth Nextcloud instance for a family of four with several apps running should have at least 2 CPU cores and 4GB of RAM dedicated to it.
Seafile: The File-Sync Specialist
Seafile takes a different, laser-focused approach. Its developers prioritize one thing above all: synchronizing files reliably and quickly. Its architecture uses a block-level sync, which means if you change a single paragraph in a massive 2GB document, Seafile only uploads the changed blocks, not the entire file. This makes it exceptionally efficient on bandwidth and speed. The interface is clean and functional, but it doesn’t try to be a calendar or email server. It excels at being a private Dropbox. If your primary goal is to have a rock-solid, fast file drive that seamlessly syncs terabytes of family photos, videos, and documents across all devices with minimal fuss, Seafile is a compelling choice. Its resource footprint can be lighter than Nextcloud’s for the core file functionality.
Making Your Final Decision
Ask yourself these two practical questions:
- What is my primary use case? Is it strictly file backup and sync, or do I want an integrated suite of productivity tools?
- What is my hardware's capability? An older laptop repurposed as a server with 4GB of RAM might be happier with Seafile’s leaner profile, while a modern mini-PC with 8GB+ can comfortably run the full Nextcloud experience.
The best platform is the one you’ll actually use and maintain. For most first-time builders, the choice between the expansive ecosystem of Nextcloud and the streamlined efficiency of Seafile is the central decision.
Once you've chosen, you're ready to move from planning to action. The next step is installing your chosen platform and performing the initial configuration to bring your private cloud online.
Step 1: Installation & Initial Configuration
With your hardware humming and your chosen platform selected, it’s time to bring your private cloud to life. This phase is where the abstract becomes concrete. We’ll move from downloading software to seeing a login screen, laying the absolute foundation for everything that follows. Precision here prevents problems later.
Getting the Software Onto Your Server
Your first action is to install your chosen platform’s software onto your server’s operating system. The method varies, but the principle is the same: you are deploying the application that will manage all file storage, synchronization, and access. For a platform like Nextcloud, this often involves using command-line tools. A typical installation on Ubuntu Server might start with downloading the setup package and running a script that installs the necessary web server (like Apache or Nginx), database (like MariaDB), and PHP components. For a Docker-based solution like Seafile or a containerized Nextcloud, you’ll use the `docker-compose` command to pull the pre-built images and start them with a single configuration file. This method, while requiring familiarity with Docker, often simplifies the process by bundling dependencies.
The Crucial First-Time Setup Wizard
Once the software is installed, navigate to your server’s local IP address (e.g., http://192.168.1.100) from a browser on your home network. You’ll be greeted by a setup wizard. This is your control panel for birth. Here, you will:
- Create the Administrator Account: This is your master key. Use a username other than ‘admin’ and a strong, unique password—this account controls all data and user management.
- Configure the Data Directory: This is the most critical path you will set. Point it to your primary storage drive, e.g., /mnt/bigdrive/nextcloud_data. This directory will house every file and folder you upload.
- Set Up Database Connection: The wizard will prompt you to enter details for the database (MySQL/MariaDB or PostgreSQL) you installed. You’ll need the database name, username, and password you created during the database setup.
Do not skip any step in the wizard. A misconfigured data directory or database connection will cause immediate and cryptic failures.
Post-Installation: Securing and Optimizing
After clicking “Finish setup,” you’ll land on your cloud’s dashboard. The installation is complete, but configuration is just beginning. First, check the administration warnings. Your platform will likely flag important tasks. For example, Nextcloud’s “Security & setup warnings” panel is essential. It will urge you to:
- Set up trusted domains: This tells the system which web addresses (like your home IP or future domain name) are allowed to access it.
- Configure memory caching (OPCache): Enabling this can improve performance by 20% or more by storing precompiled script bytecode in memory.
- Set up cron for background jobs: Switching from AJAX-based cron to a system cron (a scheduled task) is vital for reliable file indexing and maintenance. You might add a line like */5 * * * * www-data php -f /var/www/nextcloud/cron.php to your server’s crontab.
Platform-Specific Initial Steps
While the core concepts are universal, each platform has its own immediate post-install checklist. The table below highlights key initial actions for two popular choices.
| Nextcloud | Seafile (Professional Edition) |
|---|---|
| Run the Initial Setup Wizard via web browser. | Start services via Docker Compose or systemd, then access web setup. |
| Install and enable the “Preview Generator” app for faster thumbnails. | In System Admin, immediately configure storage backend (filesystem or S3). |
| Under Administration > Settings, configure the default language and time zone. | Create the initial administrator account during the first web login. |
| Enable “Brute force protection” in Security settings. | Set the “Service URL” (the external address clients will use to connect). |
When you can successfully log in, see the dashboard, and no critical warnings remain, you have a functioning, blank slate of a private cloud. The engine is installed, tuned, and idling smoothly. It’s now ready for the most important layer: the people and the rules that will govern it.
Step 2: Setting Up User Access & Permissions
Your private cloud is now a vault, and this step is where you forge the keys. Unlike a public service where accounts are managed for you, self-hosting puts you in the role of administrator. This granular control is a core advantage, allowing you to create a perfectly tailored digital space for your household or team. Let's build your access framework.
Creating Your User Ecosystem
Start by logging into your platform's admin panel. Your first action should be to create distinct user accounts for every individual—don't share a single "family" login. For a typical household, you might create accounts for Alice_Admin, Bob, Child_Emma, and Child_Liam. Use strong, unique passwords and enable two-factor authentication (2FA) for all admin accounts immediately. Most platforms allow you to set storage quotas per user; a practical starting point could be 50 GB for adults and 20 GB for children, which you can adjust later.
Architecting Shared Spaces with Folders
Think of your top-level directory structure as the blueprint for collaboration. You will likely want a mix of private, shared, and public spaces. For example:
- Private Home Directories: Each user automatically gets a personal folder (e.g., /home/Alice) that only they can access—ideal for personal documents and photos.
- Shared Family Folders: Create folders like /Family/Photos, /Family/Finances, and /Family/Recipes. These will be the heart of your shared digital life.
- Public Links for One-Off Sharing: For sharing a single document with someone outside your home (like a contractor or grandparent), you can generate a password-protected, expiring link—set it to expire in 7 days and require a PIN.
Defining Permissions: The Rulebook
Permissions dictate what users can do within a shared folder. The standard levels are Read Only, Read & Write, and Full Control. Applying them strategically is crucial for organization and security. Consider this practical comparison for a folder named "Family Finances":
| User | Permission Level | Practical Result |
|---|---|---|
| Alice_Admin | Full Control | Can add/delete files, modify permissions, and see all activity logs. |
| Bob | Read & Write | Can upload tax documents and view budgets, but cannot change who else has access. |
| Child_Emma | Read Only | Can open and view the "Household Budget Overview" PDF but cannot alter it or see other sensitive files. |
| Child_Liam | No Access | The folder does not appear in their file listing at all. |
For a "Family Photos" folder, you might grant all adults "Read & Write" to contribute, while children have "Read Only" to enjoy memories without accidentally deleting them. Most platforms allow you to set these permissions at both the user and group level—creating a "Kids" group to apply uniform rules saves immense time.
Security and Auditing: Your Watchtower
With your structure in place, activate your audit logs. This feature, often found in admin settings, records every login attempt, file access, and permission change. Check it weekly at first. Look for failed login attempts from unknown locations, which could indicate a brute-force attack, and review which users are actively accessing sensitive folders. This vigilance transforms your cloud from a static repository into a responsive, secure system you can truly trust with your digital life.
Step 3: Connecting Devices & Automating Sync
Your private cloud drive is now a secure, humming vault in your home. The final step is to weave it into the fabric of your digital life, making it as effortless and ubiquitous as any commercial service. This is where your data gains true freedom, flowing silently between your server and every device you own.
Installing Client Applications for Seamless Access
Unlike a web portal you occasionally visit, true cloud integration requires dedicated client software. Most self-hosted platforms, like Nextcloud and Seafile, offer native applications for Windows, macOS, Linux, iOS, and Android. Download the client from your server's login page or the official app stores. During setup, you'll simply enter your server's address (e.g., https://mycloud.home or your dynamic DNS name), followed by your username and password. The client then creates a special sync folder on your device—a local gateway to your entire cloud storage. Any file you place here is uploaded to the server; any change made on the server is downloaded here, keeping everything in perfect harmony.
Configuring Selective Sync and Automation Rules
You likely don't need your entire 4TB photo archive on your phone's limited storage. This is where selective sync becomes essential. Within the client settings, you can choose which top-level folders to sync to each device. For example, sync your "Work Documents" and "Current Projects" to your laptop, but only your "Personal" and "Family Photos" folders to your tablet. This conserves bandwidth and local storage. For advanced automation, explore platform-specific features. Nextcloud, for instance, allows you to set rules like "automatically upload all photos from my phone's Camera Roll to the server every night at 2 AM when connected to Wi-Fi," or "convert any uploaded document to PDF."
Comparing Sync Protocols: Performance in the Real World
Not all sync engines are created equal. The protocol your platform uses dictates speed, reliability, and how it handles file conflicts. Here’s a practical comparison of two common approaches.
| Protocol | Best For | Sync Speed | Conflict Handling | Example Platform |
|---|---|---|---|---|
| WebDAV-based Sync | General file sharing, collaborative document editing. Syncs entire files on change. | Good for small files. Can be slower with large files as it transfers the whole file for any edit. | Creates duplicate files (e.g., "report (conflict copy).docx") for manual resolution. | Nextcloud, ownCloud |
| Block-level Sync | Large files (video projects, disk images), frequent edits to big files. | Very fast. Only syncs the changed parts of a file. Editing a 1GB video file might only transfer 50MB of changes. | More sophisticated versioning; often allows rolling back to previous file states. | Seafile, Syncthing |
If your primary use is documents and photos, WebDAV is perfectly capable. If you're a creator working with large media, a block-level sync platform can save you hours of waiting.
Securing Your Connections: A Non-Negotiable Step
When syncing files over the internet, encrypting the connection is critical. You have already set up SSL/TLS (the padlock in your browser). Ensure your client applications are connecting via HTTPS (port 443) and not plain HTTP. Most clients will warn you about unsecured connections. For added security, consider setting up a Virtual Private Network (VPN) to your home network. This allows you to use your server's local IP address (like 192.168.1.100) for syncing when away from home, adding an extra layer of encryption and hiding your service from the public internet entirely. A Raspberry Pi running WireGuard is a popular and powerful solution for this.
Once configured, your private cloud becomes invisible infrastructure. Your files are just there—on your laptop for a presentation, on your phone for a quick share, and always, always safe on your server at home, synchronized automatically in the background. The cycle is complete.
Essential Private Cloud Platforms & Hardware
Self-Hosted Software Platforms
- Nextcloud — Best for an integrated suite with file sync, calendars, and collaborative apps.
- TrueNAS — Best for a powerful, scalable storage OS built on ZFS for data integrity.
- OpenMediaVault — Best for a lightweight, Debian-based NAS operating system.
- Seafile — Best for high-performance, reliable file synchronization and sharing.
Integrated Hardware & OS Solutions
- Synology DSM — Best for user-friendly, all-in-one NAS devices with a vast app ecosystem.
- QNAP QTS — Best for versatile NAS units with strong multimedia and virtualization features.
- fii.one — Best for a streamlined, web-based file management interface for personal servers.
Frequently Asked Questions
Is this project too technical for a beginner?
While it requires some technical comfort, modern platforms like Nextcloud are designed for accessibility. By following this guide and using a Raspberry Pi or a simple NAS, you can achieve a working setup without deep coding knowledge. The initial investment of time pays off in long-term simplicity, control, and security, moving you from a passive user to an empowered administrator of your own data.
How secure is a home cloud compared to a service like Google Drive?
Security shifts from trust in a corporation to your own practices. Your data never leaves your network, eliminating third-party breaches. The strength depends on your setup: using strong passwords, enabling two-factor authentication, and keeping software updated. With proper configuration, your private drive can be a far more secure fortress than any shared public service where you are not in control of the underlying infrastructure.
What happens if my home internet connection goes down?
Your local network access remains fully functional. Devices at home can still access and sync files stored on the server. Remote access from outside your network will be temporarily unavailable until your internet service is restored. This highlights a key benefit: unlike purely online services, your private cloud provides uninterrupted local access, ensuring your files are always there when you need them most.
Can I share files with people who don't use my server?
Absolutely. Most self-hosted platforms feature robust sharing tools. You can generate password-protected share links with expiration dates, send files via email, or create guest accounts with limited permissions. Recipients access these shares through their standard web browser—no special software needed. It offers the convenience of public cloud sharing but with your rules, your limits, and your oversight.
How do I ensure my data is backed up and not lost?
Your server's storage is not a backup. Implement the 3-2-1 backup rule: keep three copies of your data, on two different media, with one copy offsite. Automatically back up your server's data to an external hard drive and use a cloud service or a second location (like a family member's NAS) for the offsite copy. This protects against hardware failure, local disaster, and accidental deletion.
Last reviewed: 2026-08-15 — fact-checked against vendor documentation and public pricing pages.
Join thousands of users who trust fii.one for fast, private cloud storage.
Get Started Free →fii.one Team
The fii.one blog brings you guides, tips, and insights on file storage, sharing, and productivity.