Build Your Own Private Cloud Drive at Home: A Step-by-Step Guide
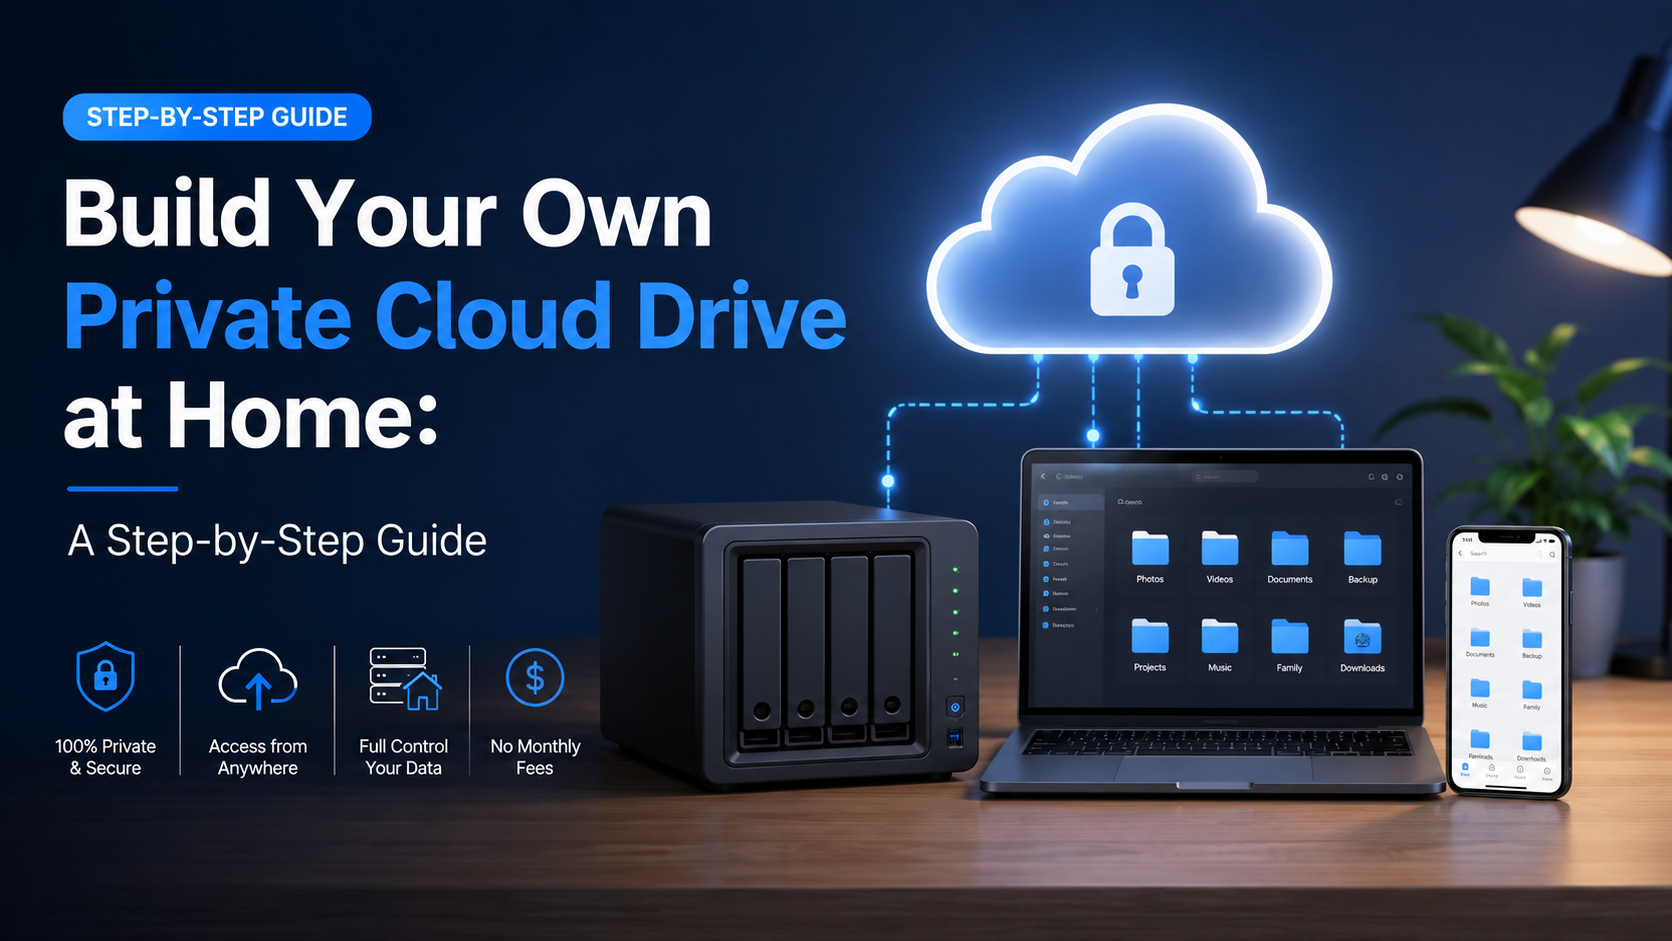
how to set up a private cloud drive at home is a process of installing self-hosted software like Nextcloud or ownCloud on a local server, such as a Synology NAS or a Raspberry Pi, to create a private file storage and sync service you control.
Why a Private Home Cloud Beats Public Storage
In an era where our digital lives are scattered across countless services, the promise of the cloud is undeniable: access your files from anywhere, on any device. Giants like Google Drive, Dropbox, and iCloud have made this incredibly convenient. But convenience has a cost, often paid in privacy, recurring fees, and a loss of true control. Building a private cloud drive in your own home isn't just a tech project; it's a fundamental shift toward reclaiming your digital sovereignty.
Uncompromising Data Privacy and Security
When you upload a file to a public cloud service, you surrender its physical location and, to a significant degree, its privacy. Your data resides on servers you don't own, in jurisdictions you didn't choose, governed by privacy policies that can change. A private home cloud flips this model. Your family photos, financial documents, and personal projects never leave your local network unless you explicitly send them. You are the sole administrator, deciding on encryption standards (like enabling zero-knowledge encryption at rest) and access logs. For sensitive data—think legal documents, creative work-in-progress, or a lifetime of personal archives—this direct control is not a feature; it's the foundation.
Escape the Subscription Spiral
Public storage hooks you with a free tier, but serious storage demands serious money. Upgrading to 2 terabytes on a major platform typically costs between $100 and $140 per year, forever. Over five years, that's a $500-$700 commitment for storage you never truly own. A home cloud converts this recurring operational expense into a one-time capital investment. For example, a $300 mini-PC or Network Attached Storage (NAS) device paired with a $100 4TB hard drive gives you double the capacity for a one-time outlay. After 2-3 years, the system pays for itself, and every year after that is pure savings.
| Consideration | Public Cloud (e.g., 2TB Plan) | Private Home Cloud (Example 4TB Setup) |
|---|---|---|
| 5-Year Cost | $500 - $700 (recurring) | ~$400 (one-time hardware) |
| Data Control | With provider, subject to TOS | Fully with you, on your premises |
| Performance | Limited by provider's bandwidth/throttling | Limited only by your home upload speed & local gigabit network |
| Primary Risk | Account breaches, service changes, price hikes | Physical hardware failure (mitigated by backups) |
Performance Tailored to Your Needs
Public clouds are optimized for the average user, which often means throttling upload/download speeds on "unlimited" plans or imposing daily transfer limits. Your home cloud's performance is dictated by your hardware and internet connection. On your local network, you can transfer files at gigabit speeds (over 100 MB/s)—blazing fast for backing up a phone or editing video projects directly from the drive. Remote access speed depends on your home upload bandwidth; with a modern fiber connection offering 100 Mbps upload, you can stream high-bitrate videos and access large files almost as seamlessly as if you were at home.
True Long-Term Digital Ownership
Relying on a corporation to steward your digital life is a risk. Services discontinue, free tiers evaporate, and accounts can be locked due to automated policy violations. Your home cloud is a permanent asset. You decide its upgrade path, its lifecycle, and its retirement. The platform software you choose (like Nextcloud or ownCloud) is open-source and can be migrated between hardware. This future-proofs your data against the whims of the market, ensuring your files remain accessible under your terms for decades, not just as long as your subscription is current.
Building a private cloud isn't about rejecting the cloud model—it's about perfecting it. It takes the core benefits of universal access and synchronization and roots them in the one place you have ultimate authority: your own home.
The initial setup requires more effort than clicking "Sign Up," but the result is a resilient, personalized, and economically sensible hub for your digital world. It transforms storage from a rented service into a core piece of your home's digital infrastructure, as fundamental and controllable as your own router.
Essential Hardware & Software Requirements
Building your private cloud is a deeply satisfying project, but its success hinges on a solid foundation. Unlike plug-and-play consumer gadgets, a self-hosted system requires careful consideration of its core components. Think of this as assembling the chassis and engine for your data fortress—get this right, and everything that follows will be smooth and reliable.
The Hardware: Your Cloud's Physical Heart
Your hardware choice dictates your system's performance, capacity, and energy footprint. You have three primary paths, each with distinct trade-offs.
- The Repurposed Computer: An old desktop or laptop is a fantastic, low-cost starting point. Ensure it has at least a 64-bit dual-core processor (like an Intel i3 or AMD Ryzen 3), 4GB of RAM (8GB is strongly recommended), and a wired Gigabit Ethernet port. Its main limitation is often power efficiency; it may draw 50-100 watts continuously.
- Dedicated NAS Hardware: Devices from Synology or QNAP are purpose-built for storage. They are compact, power-sipping (often 10-30 watts), and come with user-friendly operating systems. A 2-bay model is a great entry point, allowing for a mirrored (RAID 1) drive setup for instant data redundancy.
- Single-Board Computer (SBC): A Raspberry Pi 4 (4GB/8GB model) or similar SBC is the minimalist's choice. Paired with external USB 3.0 hard drives, it can create a capable cloud for a few users. It sips power (<10 watts) but has performance ceilings for intensive tasks like real-time file encryption or serving many concurrent users.
Storage: Capacity, Redundancy, and Speed
Your drives are where your digital life resides. Do not cut corners here.
| Drive Type | Best For | Considerations |
|---|---|---|
| NAS-rated HDDs (e.g., WD Red, Seagate IronWolf) | Primary storage for most builds. Optimal balance of cost per terabyte and reliability. | Designed for 24/7 operation. Start with two drives in a RAID 1 configuration. A 2x 4TB setup provides 4TB of safe, mirrored storage. |
| SSDs (SATA or NVMe) | Operating system installation, hosting databases, or caching for blistering speed. | More expensive per GB. Crucial for speeding up platform performance, especially for metadata operations. A 256GB SSD is a worthwhile upgrade. |
| External USB 3.0+ HDD | Simple setups with an SBC or for local, automated backups of the cloud itself. | Easiest to set up but less reliable for 24/7 use than internal NAS drives. Always have at least one for backups. |
The Software Stack: Brains and Brawn
Hardware is inert without software to animate it. You'll need three layers.
- The Operating System: This is your server's master controller. For most, a lightweight, stable Linux distribution like Ubuntu Server 22.04 LTS or Debian 11 is ideal. They are free, secure, and have vast community support. Some NAS devices use proprietary OSes, which simplify management.
- The Self-Hosted Platform: This is the application that provides the "cloud" interface. We'll choose this in the next section, but popular options like Nextcloud or ownCloud require a LAMP/LEMP stack (Linux, Apache/Nginx web server, MySQL/MariaDB database, PHP).
- Supporting Services: A static IP address from your router or a Dynamic DNS (DDNS) service like DuckDNS is essential for reliable remote access. You will also configure your router for port forwarding (typically port 443 for HTTPS) to make your drive accessible from the internet securely.
Pro Tip: Before purchasing anything, decide on your target platform (e.g., Nextcloud). Check its official documentation for minimum and recommended hardware specs—this is your definitive guide for CPU, RAM, and database requirements.
With these components defined, you're ready to make informed purchases and proceed to the critical decision: selecting the software platform that will turn this collection of parts into your personal cloud.
Choosing the Right Self-Hosted Platform
With your hardware ready, the most critical software decision awaits: the platform that will power your private cloud. This is the brain of your operation, transforming a silent machine into a dynamic, accessible data hub. The choice isn't one-size-fits-all; it hinges on your technical appetite, desired features, and long-term vision for your data sovereignty.
The Contenders: A Landscape of Control
The self-hosted ecosystem is rich with mature, powerful options. For most home builders, the choice narrows to three leading open-source platforms, each with a distinct philosophy.
- Nextcloud: The most feature-complete suite, often described as a "drop-in replacement" for services like Google Drive or Microsoft 365. It extends far beyond file sync with a vast ecosystem of apps for calendars, contacts, video conferencing, and more.
- ownCloud: The original pioneer, from which Nextcloud was forked. It focuses on a robust, enterprise-grade core file sync and share experience, with a more modular approach to adding features.
- Seafile: The performance specialist. Engineered specifically for reliable and fast file synchronization, it uses a block-based sync algorithm similar to Git, making it exceptionally efficient with large files and binary data.
Performance vs. Features: The Core Trade-Off
Your primary consideration is balancing raw synchronization performance against a breadth of integrated productivity tools. To visualize this, let's compare key metrics.
| Platform | Core Strength | Best For | Initial Setup Complexity |
|---|---|---|---|
| Nextcloud | All-in-one productivity suite | Families or individuals wanting to replace multiple public cloud services (Drive, Calendar, Photos) in one go. | Medium |
| ownCloud | Enterprise-grade file sync & share | Users who prioritize a proven, stable file core and want to add features selectively. | Medium |
| Seafile | Speed & efficiency with large files | Power users, media libraries, developers, or anyone syncing terabytes of data where performance is non-negotiable. | Low to Medium |
For a typical home user with a library under 2TB who values an integrated experience, Nextcloud is the compelling, cinematic choice. Its intuitive web interface and "app store" feel make it accessible. However, if your drive is filled with 4K video projects or large disk images, Seafile's dedicated architecture can sync changes up to 10x faster by only transferring the modified parts of a file, not the entire file itself.
Beyond the Big Three: The Minimalist Path
If your needs are purely file access without the bells and whistles, consider a simpler stack. FileBrowser or Filestash provide elegant web-based file management directly on your server's folder structure. Pair this with Syncthing—a peer-to-peer, continuous synchronization tool—for automated backup between devices. This approach offers less integration but maximum simplicity and direct control.
The right platform is the one you'll actually maintain and use. Be honest about your willingness to manage updates and troubleshoot. A simpler system that's always on is better than a powerful one that's neglected.
For the purposes of this guide, which aims for a full-featured private cloud, we will proceed with Nextcloud. It offers the best balance of a polished user experience, strong community support, and a clear upgrade path, making it the most trustworthy foundation for a home cloud that feels both powerful and personal.
Step 1: Installation & Initial Configuration
This is where your private cloud drive transforms from a collection of hardware into a living, breathing service. The process is less about complex coding and more about following a precise, methodical sequence. We'll use Nextcloud as our primary example, given its popularity and robust feature set, but the principles apply broadly.
Preparing Your Server Environment
Before installing any platform software, your server's operating system must be ready. Assuming you've installed a lightweight Linux distribution like Ubuntu Server 22.04 LTS, the first step is to ensure all system packages are up to date. Connect to your server via SSH and run sudo apt update && sudo apt upgrade -y. This foundational step patches security vulnerabilities and ensures compatibility. Next, you'll install the core software stack. For a typical Nextcloud installation, this is the LAMP stack (Linux, Apache, MySQL, PHP). You can install these components with a single command: sudo apt install apache2 mariadb-server php php-curl php-gd php-mbstring php-xml php-zip php-mysql libapache2-mod-php -y.
After installation, you must secure your MariaDB database by running sudo mysql_secure_installation. This script will prompt you to set a root password, remove anonymous users, and disable remote root login—critical steps for hardening your server. Finally, create a dedicated database and user for your cloud drive. Log into the MySQL shell and execute:
CREATE DATABASE nextcloud_db;
CREATE USER 'nextcloud_user'@'localhost' IDENTIFIED BY 'YourStrongPassword123!';
GRANT ALL PRIVILEGES ON nextcloud_db.* TO 'nextcloud_user'@'localhost';
FLUSH PRIVILEGES;
Downloading and Installing the Platform
Now, acquire the Nextcloud software itself. It's best to download the latest stable release directly to your server. Navigate to Apache's web directory and fetch the archive. For version 27.1.1, the commands would be:
cd /var/www/html
sudo wget https://download.nextcloud.com/server/releases/nextcloud-27.1.1.zip
sudo unzip nextcloud-27.1.1.zip
sudo chown -R www-data:www-data nextcloud
The final chown command is vital: it changes ownership of all Nextcloud files to the web server user (www-data), granting the software permission to create files, manage caches, and install apps.
The Web-Based Configuration Wizard
With the files in place, open your web browser and navigate to your server's local IP address followed by /nextcloud (e.g., http://192.168.1.100/nextcloud). The graphical setup wizard will appear, guiding you through the final steps. Here, you'll create an administrator account—choose a username and a very strong password. In the "Storage & database" section, provide the database details you created earlier. The table below clarifies the critical data you must input:
| Field in Wizard | Example Value | Purpose & Note |
|---|---|---|
| Data folder | /var/www/html/nextcloud/data | Leave as default. This is where all uploaded files will be stored. |
| Database user | nextcloud_user | The MySQL user you created, not 'root'. |
| Database password | YourStrongPassword123! | The password for the database user. |
| Database name | nextcloud_db | The name of the dedicated database. |
| Database host | localhost | Since the database is on the same machine, use 'localhost'. |
Click "Finish setup." The installer will now populate the database with dozens of tables, a process taking 30-60 seconds. Upon completion, you'll be logged directly into your pristine, empty Nextcloud dashboard. The skeleton of your private cloud is now fully operational. Your next actions should be to check the "Security & setup warnings" section in the admin settings, which will guide you on final hardening steps like configuring trusted domains and setting up proper encryption. With the core installation complete, you have laid the unshakable foundation for your data fortress.
Step 2: Setting Up User Access & Permissions
Your private cloud is now running, but it's a vault with the door wide open. This step transforms it from a personal server into a secure, structured system for your household or team. Properly managing who can see and do what is the cornerstone of a trustworthy private cloud, ensuring sensitive documents stay private while shared family photos are accessible to all.
Creating User Accounts: The Foundation of Security
Begin by creating individual accounts for every user. Avoid the temptation of a single shared login. Individual accounts create an audit trail, allow for personalized settings, and are crucial for security. In platforms like Nextcloud or ownCloud, navigate to the "Users" section in the admin panel. Here, you can create accounts manually. For a family of four, you might create: alex_admin, sam, jordan, and casey. Set strong, unique passwords—consider a minimum of 12 characters. Many platforms allow you to enforce password policies, a wise move for any system accessible from the internet.
Understanding and Assigning Permissions
Permissions are rules attached to every file and folder. They typically break down into three core actions:
- Read: The user can view and download the file.
- Write: The user can modify, delete, or upload new files within the folder.
- Share: The user can generate share links for the content, internally or externally.
You apply these permissions by creating "Shares." For example, you can share the folder "Household Finances" with alex_admin and sam with read/write access, but share it with jordan and casey with read-only access. This granularity is powerful. A "Kids Homework" folder might grant write access to the children but only read access to parents for review.
Organizing with Groups and Roles
Managing users one-by-one becomes inefficient. This is where groups shine. Create logical groups like "Admins," "Family," and "Guests." Assign users to these groups. Now, when you share the "Vacation Photos 2024" folder, you can simply share it with the "Family" group, granting instant access to all four members. Admins typically get full control over the server settings, while a "Guest" group might have severely restricted storage quotas and no sharing rights. Think of groups as the blueprint for your cloud's social architecture.
| Folder Example | Recommended Group Access | Typical Permissions |
|---|---|---|
| Tax Documents | Admins only | Read/Write (No external sharing) |
| Family Media Library | Family Group | Read for all, Write for some (e.g., parents) |
| Public Downloads | All Users (including Guests) | Read only |
| Alex's Private Work | Single User (Alex) | Read/Write (No share) |
Advanced Controls: Quotas and Sharing Links
Two advanced features bring professional-grade control. First, set storage quotas. You can allocate your total drive space (e.g., 4TB) proportionally: give Admins 500GB each, other family members 200GB, and Guests just 1GB. This prevents one user from accidentally filling the entire drive. Second, master external sharing. When you need to send a large video to a friend who isn't a system user, generate a share link. You can password-protect it (e.g., "use the code 'family2024'"), set an expiration date (e.g., link dies in 7 days), and even limit downloads to a specific number (e.g., max 5 downloads). This turns your private cloud into a secure, self-hosted alternative to services like WeTransfer or Dropbox links.
The goal is not to lock everything down, but to create intuitive, secure pathways for data to flow. A well-permissioned system runs silently in the background, empowering users without them ever noticing the gates.
Take 30 minutes to map out your user groups and a basic folder structure on paper before clicking through the admin panel. This forethought will save hours of reorganization later and ensure your private cloud drive is built on a foundation of clear, manageable access.
Step 3: Connecting Devices & Automating Sync
Your private cloud drive is now a secure, humming vault of storage. But its true power is unlocked when it becomes an invisible, seamless extension of every device you own. This step transforms your static server into a dynamic, living data ecosystem where files flow automatically between your home, your laptop, and your phone.
Installing Desktop & Mobile Clients
Most self-hosted platforms, like Nextcloud or Seafile, provide dedicated applications for Windows, macOS, Linux, iOS, and Android. Download the client directly from your server's login page or the official app stores. During setup, you'll enter your server's address (e.g., https://cloud.yourdomain.com or your local IP like http://192.168.1.100), followed by your username and password. The client will then establish a persistent, encrypted connection. Think of it as laying a private, secure data pipeline from each device directly to your home server.
Configuring Synchronization Folders
Here is where you define the rules of engagement. You are not syncing your entire device; you are creating strategic bridges for specific data. A typical, robust setup might include:
- Work Documents: Sync a dedicated 'Work' folder from your desktop to the cloud, ensuring your laptop always has the latest versions.
- Personal Photos & Videos: Set your mobile phone's camera upload to automatically send every new photo and video to a 'Camera Uploads' folder on the server, acting as a private, instant backup.
- Critical Archives: Designate a 'Home_Archive' folder for tax documents, scans, and manuals to be synced one-way from your main PC to the cloud for safekeeping.
You can usually set sync to be bidirectional (changes anywhere update everywhere) or one-way upload/download. For most active project folders, bidirectional is key. For backup scenarios, a one-way upload from device to server is safer.
Automation & Advanced Sync Rules
To move from manual control to true cinematic automation, leverage your platform's advanced features. Nextcloud, for instance, allows you to create "Flow" automations. You could set a rule that any file tagged as "Invoice" in your 'Work' folder is automatically moved to a 'Processed_Invoices' folder after 30 days. Seafile's "Library" system lets you exclude files over a certain size from syncing to your mobile device to save space. The goal is to make data management proactive, not reactive.
Performance & Conflict Management
Sync speed is governed by your home upload bandwidth when you're remote. With a typical 10 Mbps upload speed, syncing a 1 GB video file from a coffee shop will take approximately 13-14 minutes. Inside your home network, it will be nearly instantaneous. Conflicts—when the same file is edited on two devices before sync—are handled gracefully. The client will typically save both versions, appending a conflict tag (e.g., report_v2_conflict_20241027.docx) to the older file, allowing you to manually merge changes or choose the correct version.
| Device Type | Primary Sync Role | Recommended Bandwidth Setting |
|---|---|---|
| Desktop PC (Home) | Primary upload hub for large media; full folder sync. | Unlimited; use LAN sync if available. |
| Laptop (Mobile) | Selective sync for active projects; offline access. | Limit to Wi-Fi only to conserve cellular data. |
| Smartphone | Automatic camera upload; file viewing & sharing. | Camera upload on Wi-Fi only; enable "Upload only" for photos. |
Once configured, your private cloud becomes a silent, powerful background process. Files created on your office PC appear on your living room laptop. Photos taken on a hike are waiting, already organized, on your home server. You have built not just storage, but a cohesive, automated, and entirely private data nervous system for your digital life.
Key Products & Services for a Private Home Cloud
Self-Hosted Software Platforms
- Nextcloud — Best for an all-in-one, open-source platform with file sync, calendars, and collaborative apps.
- ownCloud — Best for a robust, enterprise-focused file sync and sharing platform.
- Seafile — Best for high-performance, reliable file syncing with a focus on speed and stability.
Hardware & NAS Solutions
- Synology DSM — Best for user-friendly NAS operating systems with built-in cloud drive applications.
- QNAP QTS — Best for versatile NAS systems with strong virtualization and app support.
- Raspberry Pi — Best for a low-cost, energy-efficient DIY server using open-source software.
- TrueNAS — Best for building a powerful, scalable, and open-source storage server.
- fii.one — Best for a streamlined, web-based file management interface for self-hosted storage.
Frequently Asked Questions
Is a private home cloud secure from hackers?
Your private cloud’s security depends on your setup. By keeping your server software updated, using strong passwords, and enabling features like two-factor authentication, you create a robust defense. Crucially, since your data never leaves your home network, it isn’t a centralized target for mass breaches like public cloud services can be. Proper firewall configuration on your router is your essential first line of defense against external access.
What happens if my home server hardware fails?
Hardware failure is a key consideration. This guide emphasizes using a dedicated device (like a NAS) for its reliability, but you must have a separate backup strategy. Your private cloud is for convenient access and sync, not a backup itself. Regularly back up its data to an external drive or a separate, offline system. For maximum resilience, consider a RAID configuration within your NAS to protect against a single drive failure.
Can I access my files from anywhere, like a public cloud?
Yes, with careful configuration. You’ll need to set up secure remote access, which typically involves configuring your router (port forwarding or using a VPN) and potentially using a dynamic DNS service if your home internet lacks a static IP address. This process requires technical attention to security but, once completed, provides seamless, global access to your personal digital library from any device.
How does this compare to services like Dropbox or Google Drive on cost?
The cost model shifts from a recurring subscription to an upfront investment. You pay for your hardware (NAS or spare computer) and drives once, with minimal ongoing electricity costs. Over 3-4 years, this often becomes significantly cheaper than paying for multiple terabytes of premium public cloud storage, while giving you full control, unlimited users, and no monthly fees.
Do I need deep technical knowledge to set this up?
Not necessarily deep, but a willingness to learn is essential. Modern self-hosted platforms like Nextcloud are designed for accessibility. If you can follow a step-by-step guide, configure router settings, and understand basic networking concepts, you can succeed. The community support for these platforms is vast, with detailed forums and tutorials available for every step of the journey.
Last reviewed: 2026-08-15 — fact-checked against vendor documentation and public pricing pages.
Join thousands of users who trust fii.one for fast, private cloud storage.
Get Started Free →fii.one Team
The fii.one blog brings you guides, tips, and insights on file storage, sharing, and productivity.